

Is your dryer taking forever to dry clothes, making strange noises, or simply not turning on at all? Don’t rush to buy a new one! Many common dryer problems can be fixed quickly and inexpensively with some simple DIY repairs. This article will guide you through easy troubleshooting steps, essential safety tips, and when it’s time to [call us] for professional help.
Understanding Common Dryer Issues
A malfunctioning dryer can throw your laundry routine into chaos. The good news is that many problems can be diagnosed quickly. Laundry Appliance Repair Services provide solutions for getting your dryer back in action. Let’s explore some common warning signs:
- Dryer Not Heating: Clothes come out damp even after a full cycle.
- Dryer Not Spinning: The drum doesn’t rotate, so clothes stay wet.
- Dryer Making Noise: Loud rumbling, squealing, or banging sounds indicate a potential issue.
- Dryer Takes Too Long: Cycle taking longer than usual to dry clothes.
Possible causes for each symptom:
- Dryer Not Heating: Could be a faulty heating element, thermostat, or thermal fuse.
- Dryer Not Spinning: Often due to a broken belt, a worn-out motor, or a faulty drum roller.
- Dryer Making Noise: Indicates a broken belt, worn drum rollers, or foreign objects inside.
- Dryer Takes Too Long: Could be due to a blocked vent, clogged lint filter.
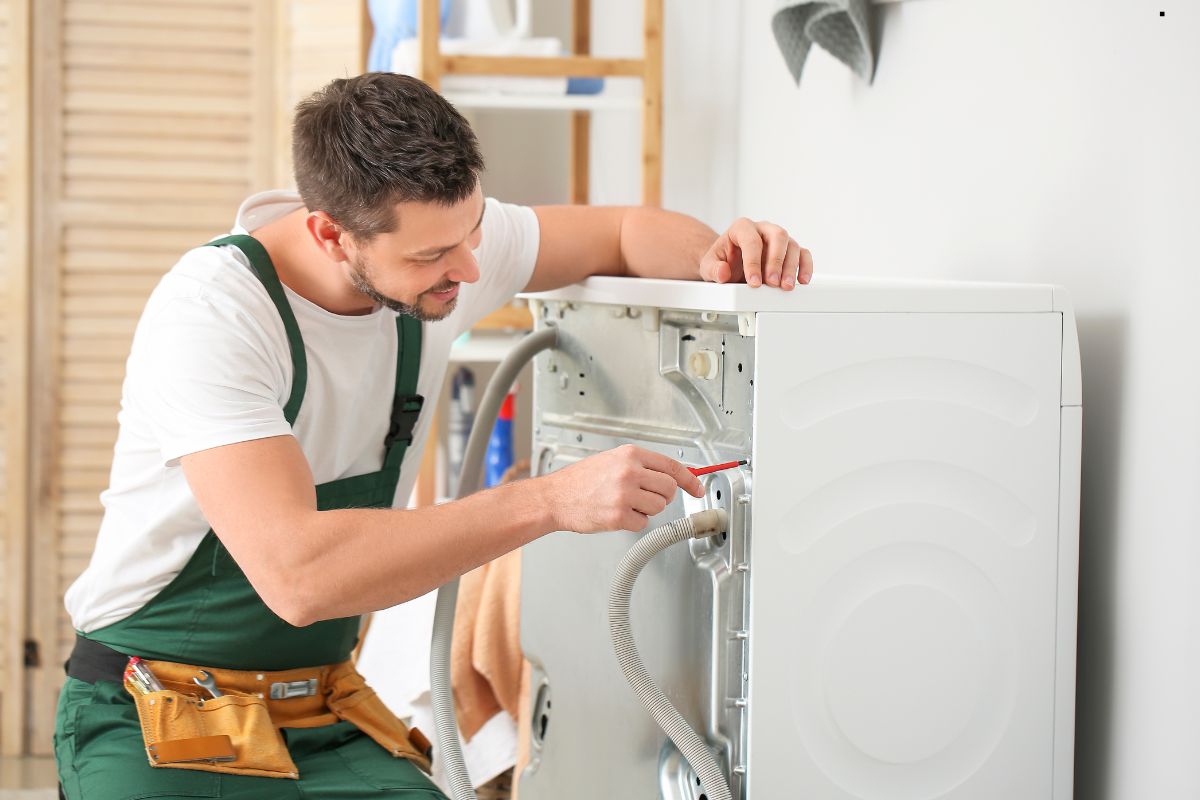
Essential Tools & Safety First
Before diving into repairs, you’ll need a few basic tools:
- Screwdrivers (Phillips and Flathead): Essential for removing panels and components.
- Nut Drivers: For removing nuts and bolts.
- Pliers: Useful for gripping and manipulating parts.
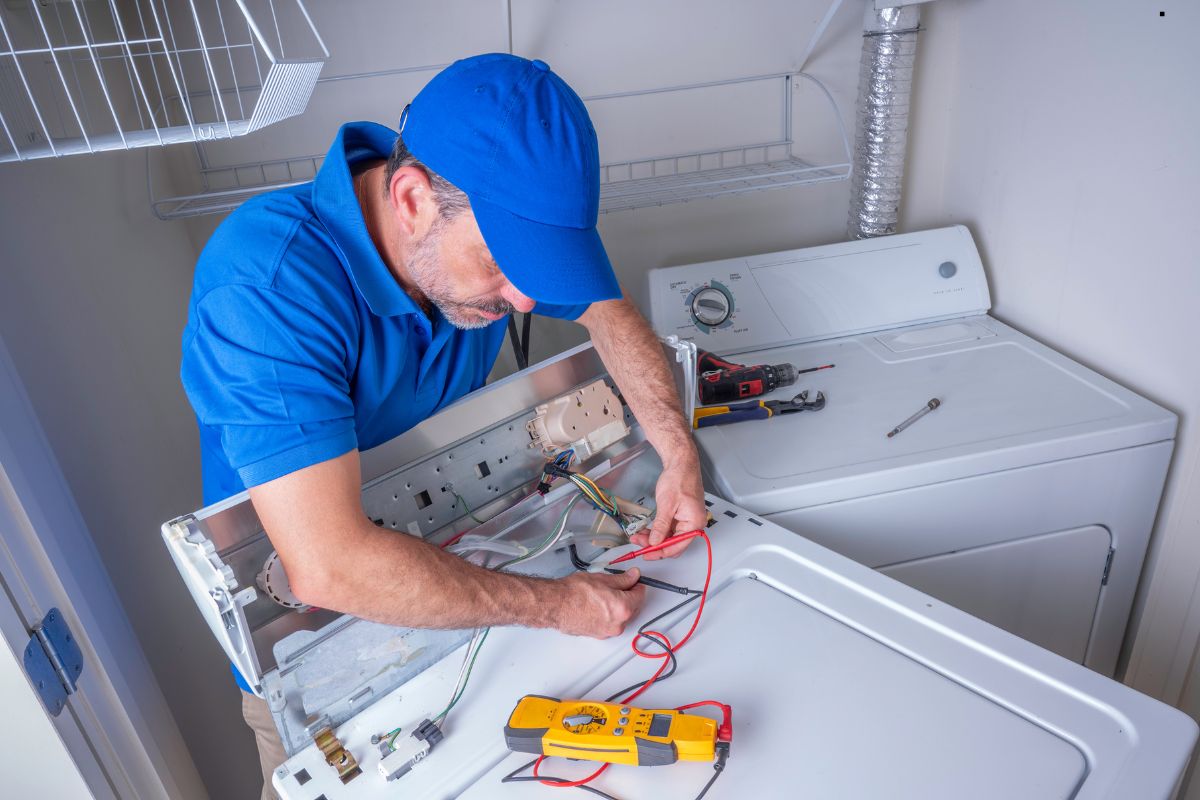
- Multimeter (Optional): For testing electrical components (requires electrical knowledge).
- Vacuum: To remove lint and debris.
- Gloves: Protecting hands from damage.
- Safety Glasses: Avoid eyes irritation when doing repairs.
Safety is paramount! Always disconnect the dryer from the power outlet and the gas supply (if applicable) before starting any repair work. Double-check that the dryer is completely de-energized before proceeding.
Call us Now for Quick and Reliable Dryer Repair Services!
Simple Repairs You Can Do Yourself
Now that you have your tools and understand the safety precautions, let’s explore some easy repairs:
Cleaning the Lint Trap: A clogged lint trap is a common cause of dryer problems. Clean it before every load! Remove the lint screen and thoroughly clean it with a brush. Also, vacuum out the lint trap housing inside the dryer.
Cleaning the Dryer Vent Duct
Over time, lint can accumulate in the dryer vent duct, reducing airflow and creating a fire hazard. Disconnect the duct from the dryer and the wall. Use a dryer vent cleaning brush kit to remove lint buildup. Vacuum the duct thoroughly before reattaching it.
Call us If cleaning doesn’t improve your Dryer !
Replacing the Dryer Belt
A broken dryer belt will prevent the drum from spinning. To replace it, you’ll need to access the dryer’s interior. Unplug the dryer and remove the back panel. Locate the broken belt and note its routing. Install the new belt following the same routing. For more detailed tips, check out The Ultimate Guide to Fixing Common Dryer Problems in our previous blog page.
Inspecting the Thermostat
In the case the dryer is not heating you have to ensure whether the thermostat of the dryer is working or not, if it not then the problem may occur and you need to repair or call profession.
When to Call a Professional
While many dryer repairs are straightforward, some problems require specialized knowledge and equipment. Call a professional if:
- You’re uncomfortable working with electricity or gas.
- You suspect a problem with the motor, heating element, or gas valve.
- You’ve tried the simple fixes, but the dryer still isn’t working.
- There is sparking.
Finding a reliable technician:
- Check online reviews.
- Ask for referrals from friends or family.
- Make sure the technician is licensed and insured.
- Get a written estimate before work begins.
Preventative Dryer Maintenance Tips
Keep your dryer running smoothly with these simple preventative measures:
Clean the lint trap after every load.
- Clean the dryer vent duct at least once a year.
- Inspect the dryer vent hose for damage and replace it as needed.
- Don’t overload the dryer.
- Avoid using dryer sheets, as they can leave residue on the lint screen.
Conclusion
By following these easy and inexpensive dryer repair solutions, you can often fix common problems yourself and avoid the cost of a new appliance or expensive repair bills. Remember to prioritize safety and know when to call a professional. A little preventative care goes a long way in extending the life of your dryer! And if you’re ever unsure,
Contact Us Today at for Expert Dryer Repair Assistance.